MirrorVlogger
2 months ago
Enhance Laravel Development with Telescope: A Must-Have Tool
You probably think Laravel Telescope is just for debugging, right? Wrong!
Telescope is not just a debugging tool, but a powerful ally that can help you improve your application's performance, security, and overall user experience.
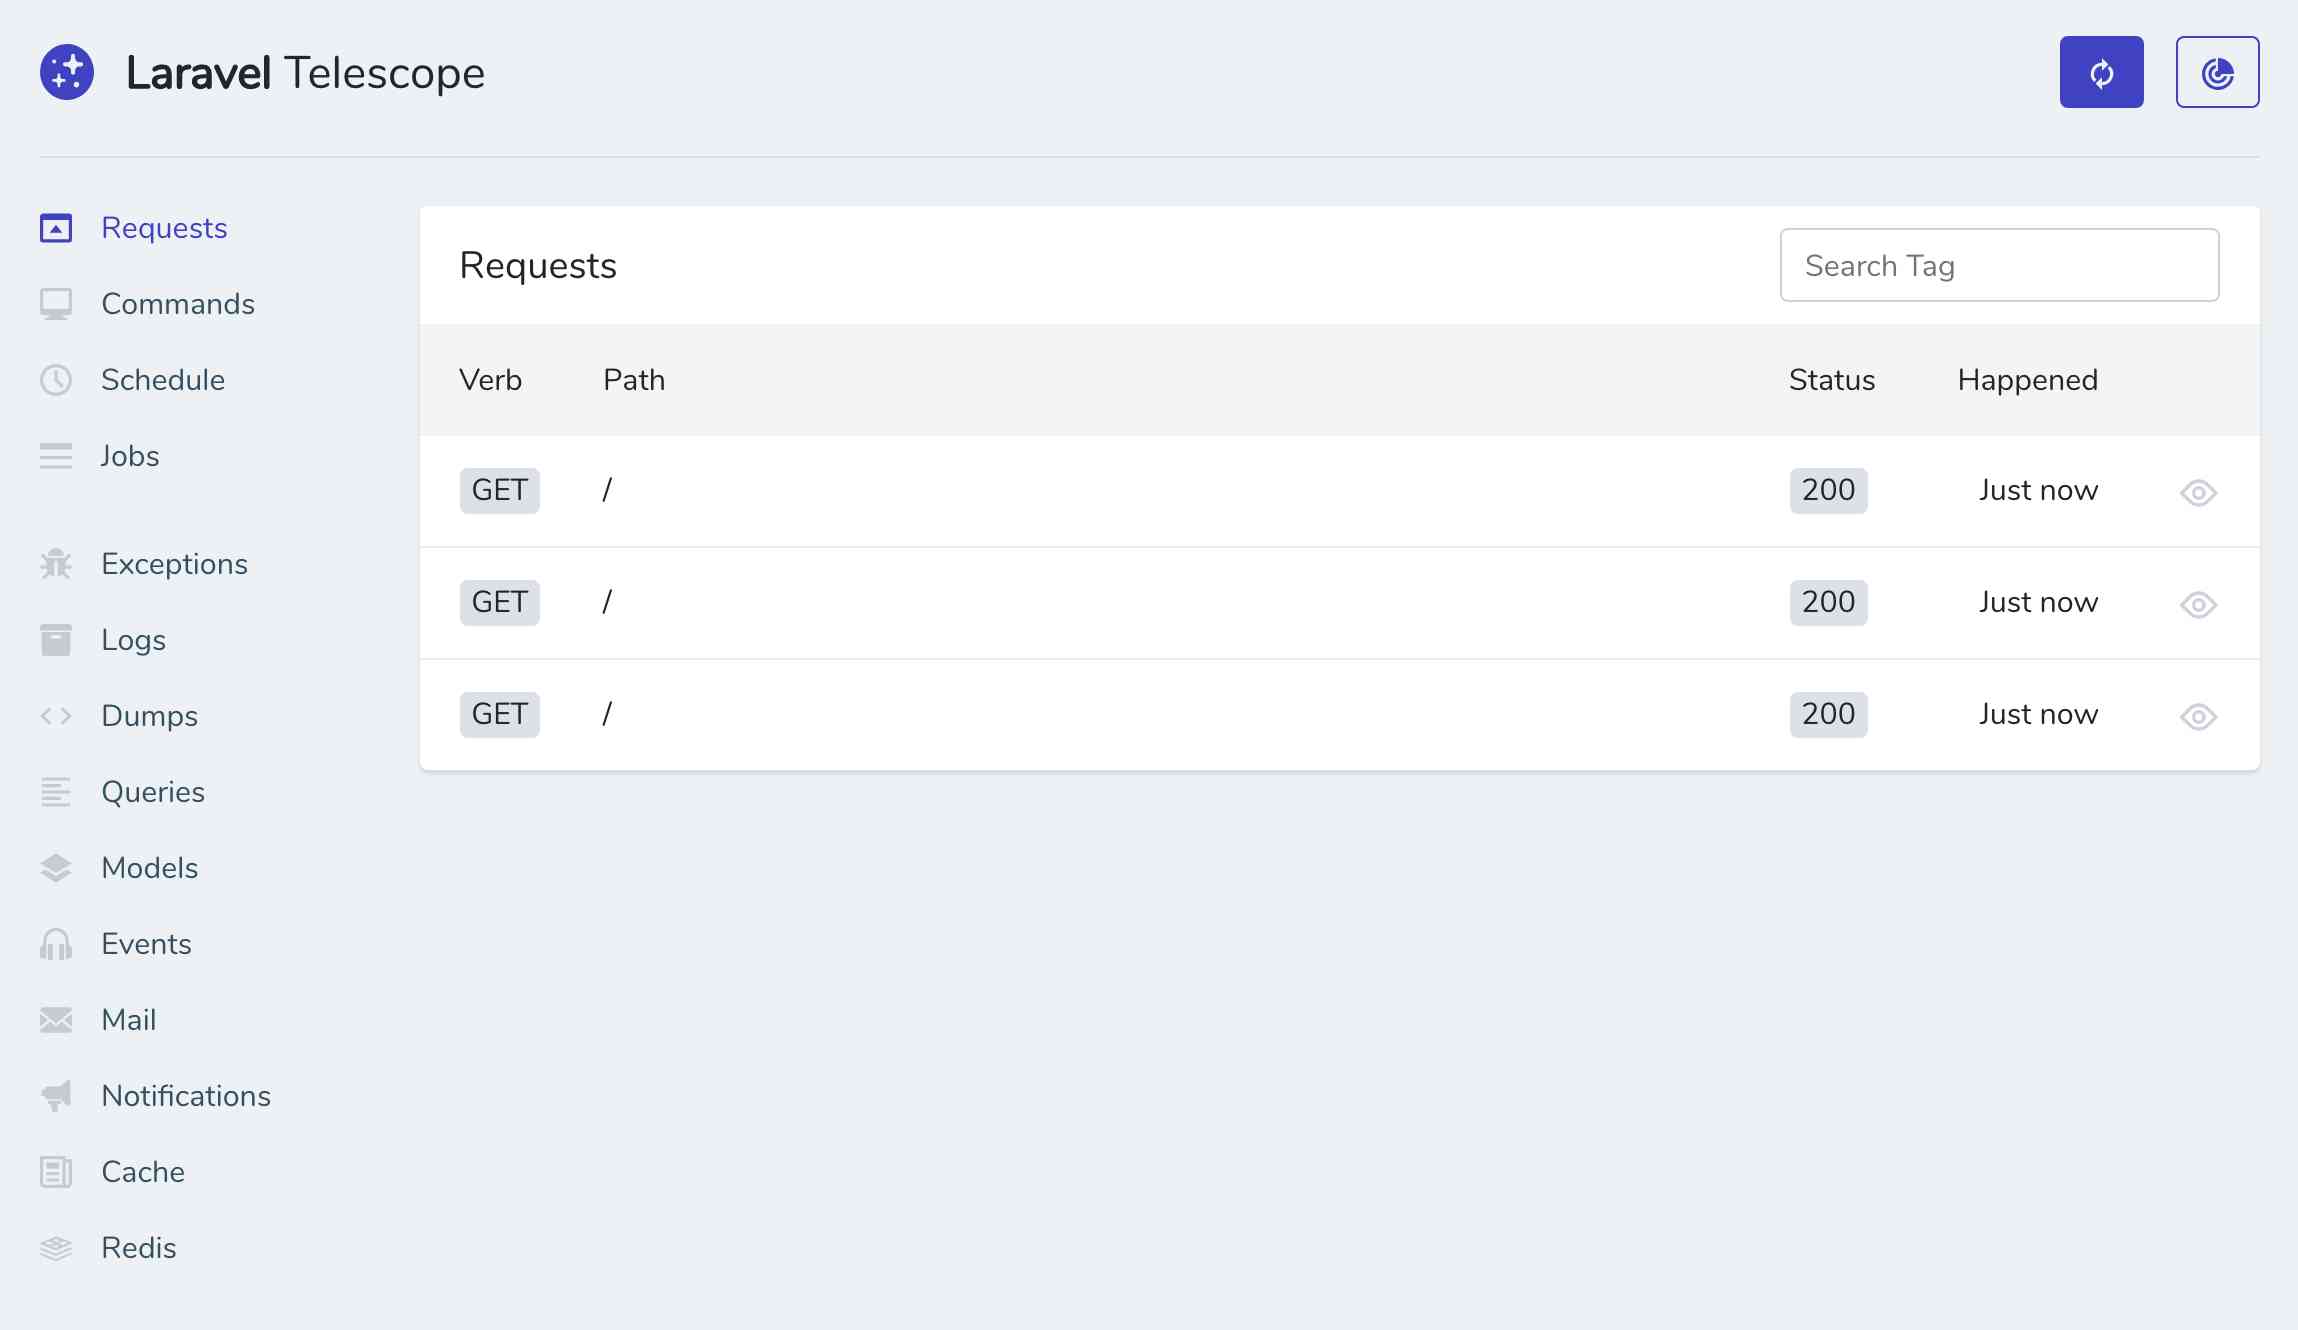
In fact, Laravel Telescope is so much more than just a debugging tool. It's a window into the inner workings of your application, providing you with valuable insights into what's happening behind the scenes. With Telescope, you can easily identify bottlenecks, optimize database queries, and even detect potential security threats.
What you get when you install Laravel Telescope
Performance Monitoring:
- Track Requests: Understand user behavior and identify bottlenecks with detailed request tracking.
- Monitor Performance: Keep tabs on your application's performance over time, pinpointing slow queries and inefficient code.
- Optimize Database Queries: Analyze database queries to identify and rewrite slow ones, improving performance.
Debugging and Troubleshooting:
- Log Exceptions: Stay informed about errors and exceptions, enabling proactive troubleshooting.
- Debug Your Code: Step through your code and inspect variables to quickly identify and fix issues.
- View Logs: Access your application's logs directly in Telescope, making troubleshooting a breeze.
Additional Features:
- Cache Monitoring: Optimize cache usage to improve response times and reduce server load.
- Job Tracking: Monitor the progress of background jobs and ensure they're processed correctly.
Also, with Telescope's built-in filtering and sorting features, you can quickly and easily find the information you need.
How to start using Laravel Telescope to improve your application
Start by installing Laravel Telescope in your application.
To install Telescope, go to the Documentation for Telescope found on the Laravel website. It's easy to do, and the documentation is excellent.
How to fix Laravel Telescope 403 forbidden on staging
One thing to note: if you're having issues with Telescope on staging, (like a 403 forbidden on staging) don't worry! Simply go to your AppServiceProvider.php file and add the following code:
```
if ($this->app->environment(['local', 'staging'])) {
$this->app->register(\Laravel\Telescope\TelescopeServiceProvider::class);
$this->app->register(TelescopeServiceProvider::class);
}
```
This will ensure that Telescope is properly registered and running on your staging environment.
Once you've installed it, take some time to explore the dashboard and get familiar with the different features and tools available.
Next, start using Telescope to monitor your application's performance. Look for bottlenecks, optimize database queries, and identify areas where you can improve. And don't forget to use the request and response logs to debug issues and detect potential security threats.
By following these steps, you can start using Laravel Telescope to improve your application's performance, security, and overall user experience. And with its powerful features and intuitive interface, you'll be amazed at how much of a difference it can make.
So what are you waiting for? Start using Laravel Telescope today and take your application to the next level! I'd love to hear about your experiences with Laravel Telescope - what features do you find most useful? How has it helped you improve your application? Let me know in the comments!
0
comments
Follow creator